How to Morph into Different Sizes in Roblox Studio
Download – Morph Script and Model
How To – Morph into Different Sizes in Roblox Studio
What’s up everyone welcome to buzzygames, my name is BuzzyGamesBeth and today I’ll be teaching you how to morph into different sizes!
- Inside of our workspace is a part then add a proximity prompt. Inside of our proximity prompt properties let’s change the action text to “hold to morph”. This is going to be the action text that appears when we’re close to the proximity of the part.
- Next up is our hold duration i’ll set it to 0.5. Change the object text, when you are inside of your proximity prompt it’ll tell you what exactly this proximity prompt or part is.
- Once we’re done with that go ahead and add a script. Delete that print statement we don’t need it.
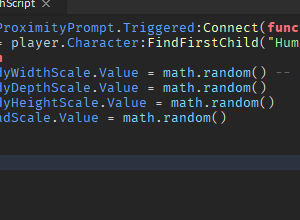
- We have script.parent.proximityprompt.triggered:connect(function(player)) is our parameter. Anytime a player or humanoid triggers this proximity prompt then this is going to happen.
- If a player is triggering this proximity prompt then these characteristics are going to change, their body width scale body depth scale. body height scale. and head scale.
- Now you’ll see that I [use] math.random because I really don’t want to set it to an exact number of what our character is going to morph to. I just want to let the code choose a random number for me instead!


